7 Tips for Choosing a Temporary Power Pole
Choosing a temporary power pole is not merely a matter of selecting a tall post and attaching a meter. It affects worker safety, inspection approval, equipment reliability, and the daily progress of a construction project. A poor choice can leave cords stretched across wet ground, panels exposed to vehicle traffic, or circuits overloaded before the framing is complete.
The risk is measurable. The U.S. Bureau of Labor Statistics recorded 126 fatal occupational injuries involving electricity exposure in 2020. That figure covers many work environments, but it shows why temporary electrical systems deserve careful planning. OSHA’s construction standard, 29 CFR 1926.405, addresses wiring methods, grounding, and protection for temporary installations. Its requirements should guide every purchase. NFPA 70, the National Electrical Code, also provides recognized requirements for temporary wiring, overcurrent protection, and grounding.
Small details matter.
A pole installed near a driveway needs stronger physical protection than one placed beside a locked work area. A project using compressors, saws, heaters, and chargers may require more capacity than its initial load estimate suggests. The National Electrical Manufacturers Association and utility safety guidance also emphasize weather resistance, proper enclosures, and dependable grounding for outdoor equipment.
This guide presents seven practical tips for choosing a temporary power pole. It considers load capacity, pole construction, panel configuration, safety devices, weather exposure, installation location, and future expansion. Some recommendations may seem obvious. They are still often missed. Local utility rules and authority-having-jurisdiction requirements can vary, so a qualified electrician should verify the final setup before energizing the temporary power pole.
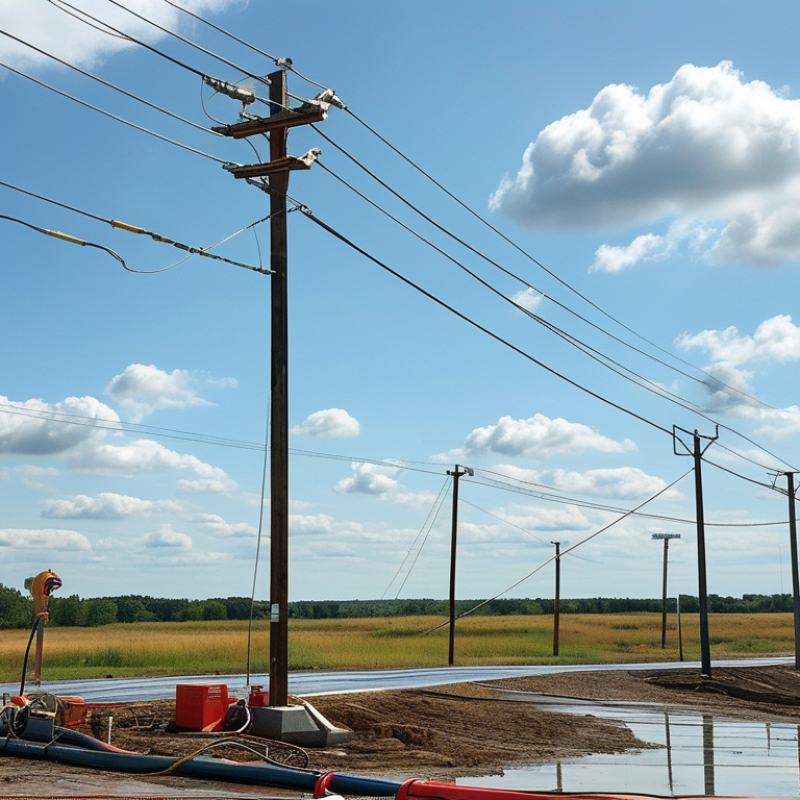
Define Load Capacity Using 120/240V Service Ratings and Peak-Demand Data
Choosing a temporary power pole starts with the service rating, not the number of outlets. A 120/240V, 100-amp service can theoretically deliver 24,000 watts, but that figure is not a working target. Usable capacity depends on conductor ratings, breaker limits, voltage drop, and balanced loads. Check the pole’s nameplate and distribution equipment before connecting anything.
Write down every expected load, including heaters, pumps, saws, lights, and chargers. Record running watts and starting watts separately. A motor may briefly demand two or three times its normal current. Use measured peak-demand data when available; estimates often miss winter heaters or simultaneous tool starts. Keep continuous loads below the permitted rating, and leave practical headroom for unexpected demand.
Think in both voltages. A 120V load uses one hot leg, while a 240V load uses both legs. Balance large 120V circuits across the two legs to reduce neutral current and nuisance trips. Confirm that breakers match the conductors and outlet configuration. Inspect cords for heat, damage, or loose connections. Keep the pole stable, dry, and protected from vehicle traffic.
Field experience suggests a simple test: run the largest realistic combination while watching voltage and breaker behavior. Do not trust a quiet morning. I once underestimated temporary lighting and charging equipment; the spare capacity disappeared quickly. Have a qualified electrician verify grounding, protection, and local installation requirements before energizing the pole.
Verify NEC 2023 Clearance Rules and 10-Foot Overhead Conductor Spacing
Choosing a temporary power pole starts with the site, not the price.
In field reviews, I check the service rating, enclosure, grounding path, and pole stability. Then I map every overhead conductor before delivery. The 2023 National Electrical Code (NEC) clearance rules depend on location and conductor conditions.
A commonly cited 10-foot rule is not universal. Required height may change above finished grade, pedestrian areas, driveways, and public roads. Do not measure from loose soil or future gravel. Verify the finished elevation. Ask the authority having jurisdiction about local amendments. A licensed electrician should make the final decision.
Keep the pole away from ladders, scaffolds, roof edges, tree limbs, and vehicle routes. Maintain the required separation from overhead conductors. Ten feet is a warning point, not permission to guess. Also, do not confuse ten-foot vertical clearance with conductor-to-conductor spacing. Those are different checks. Choose bracing suited to wind, wet soil, and cable tension.
Keep disconnects accessible, but protect equipment from splash and impact. Shield cords from sharp edges and standing water. Label the disconnect clearly. Test grounding and GFCI protection before workers arrive. I have seen neat installations fail after rain shifted the pole. That detail is easy to miss.
Recheck clearances after backfilling, framing, or moving equipment. Keep permits, inspection records, and site sketches together. Local officials may require more than the NEC baseline.
Choose GFCI Protection at the Industry-Standard 5 mA Trip Level
7 Tips for Choosing a Temporary Power Pole
Choose GFCI protection at the industry-standard 5 mA trip level. This setting helps protect people from dangerous current leakage. A GFCI monitors the outgoing and returning current continuously. If the difference reaches about 5 mA, it interrupts power quickly. That response matters near wet concrete, exposed soil, or metal framing. Moisture changes everything.
Select a temporary power pole with accessible GFCI test and reset controls. Workers should not need to remove covers or reach across equipment. Press the test button before use, then confirm that power stops. Reset it only after checking cords, plugs, and connected tools. A failed test requires immediate attention from a qualified electrician. Never treat grounding as a substitute for GFCI protection. They serve different safety purposes.
Inspect the enclosure for weather resistance, secure covers, and protected cable entries. Look for crushed insulation, loose receptacles, or water inside the box. On active sites, dust and vibration can turn small defects into serious problems. A quick visual check feels sufficient, but it is not. Keep the pole upright and away from standing water. Label each circuit clearly, especially when several crews share one supply. Choose equipment listed for temporary construction use and matched to the expected load. A careful selection reduces nuisance trips without weakening personal protection.
Match Pole Materials to OSHA’s 30-Inch Stability and Grounding Requirements
7 Tips for Choosing a Temporary Power Pole
Choosing a temporary power pole starts with stability, not appearance. OSHA-focused planning commonly uses 30 inches of secure embedment as a stability benchmark. Confirm the exact requirement with the applicable site rules and local authority. A wood pole can provide dependable support when it is straight, treated, and free from deep splits. Steel offers strength but may conduct electricity if damaged wiring touches it. Fiberglass resists corrosion and electrical conduction, yet it can crack after impact. Inspect the pole closely.
Material selection also affects grounding work. The pole should support the service equipment without shifting, twisting, or pulling conductors downward. Install grounding electrodes, bonding jumpers, and equipment grounding conductors according to the approved electrical design. Do not assume a nonconductive pole replaces proper grounding. It does not. Metal braces, enclosures, and fittings still require careful bonding. Keep connections protected from mud, standing water, and repeated vehicle contact.
Look for a pole length that allows the required 30-inch embedment while maintaining safe clearance above ground. Check the soil before installation. Loose fill may need engineered bracing or a different support method. I have seen stable-looking poles lean after rain softened the ground. That detail is easy to miss. Recheck plumb, fasteners, conductor tension, and grounding connections after severe weather. Use equipment rated for temporary service, and have a qualified person verify the installation before energizing it.
Compare Weather Ratings, Outlet Counts, and 20-Amp Circuit Configurations
Choosing a temporary power pole starts with its weather rating. Outdoor job sites face rain, dust, sunlight, and sudden temperature changes. Look for a clearly stated enclosure rating suitable for exposed locations. A covered outlet helps, but it does not replace proper site protection.
Tip: Inspect the pole before every use. Check cracked covers, loose fittings, damaged cords, and water inside receptacles. I have seen small defects become serious trip hazards after one storm. Keep the base stable and place the pole away from standing water. Local electrical requirements should guide installation, especially on construction sites.
Outlet count also matters. Count the tools operating at the same time, not only the workers nearby. Four outlets may sound sufficient until saws, chargers, lights, and ventilation equipment share the pole. Avoid filling every opening without checking the total load. More outlets do not automatically mean more usable power.
Tip: Study the 20-amp circuit configuration carefully. Some poles provide separate circuits, while others place several outlets on one circuit. A dedicated 20-amp circuit can support a demanding tool more reliably. However, the tool’s nameplate still controls the decision. Check startup demand, extension-cord length, and breaker protection. I sometimes prefer one unused outlet over an overloaded setup. It leaves room for mistakes, which busy sites often create.