- Spanish-Latin America
- Japanese-JP
- Chinese
- Europe
- Português-BR

Tech Support
(888) 598-9901
Hours: Mon-Fri 8AM-8PM EST
nep-usa@site_ea168614-f5f4-4298-bd5b-880b4cf8d99d
What Is a Neon LED Strip and How Does It Work?
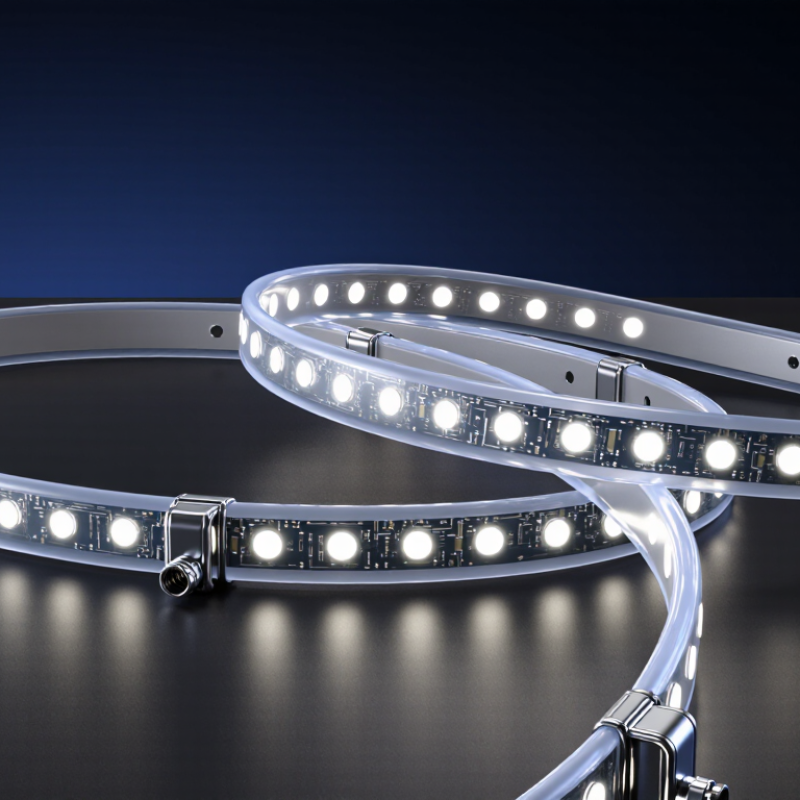
A Neon Led Strip is a flexible lighting system designed to imitate traditional glass neon. It usually combines closely spaced LEDs, silicone diffusion, a circuit board, and a low-voltage power supply. The silicone body spreads light across the tube, reducing visible bright spots. Its soft glow suits signs, retail shelves, hospitality interiors, bedrooms, and architectural edges.
The technology is simple, but the engineering is not. Electrical current passes through LEDs, creating light with less heat than conventional neon tubes. A controller can adjust brightness, color, animation, or white-light temperature. However, voltage drop can dim longer runs near the far end. Heat buildup can also shorten LED life. Good installation needs correct wattage, aluminum mounting, waterproof connectors, and an appropriately rated driver.
The U.S. Department of Energy reports that LED products can use at least 75% less energy than incandescent lighting and last much longer. Grand View Research also identifies strong growth in the global LED lighting market, driven by energy efficiency and smart-control adoption. These figures support the category’s momentum, although strip-light performance varies greatly between products. Dr. Nadarajah Narendran, a leading LED researcher at Rensselaer Polytechnic Institute, has stated, “LEDs are not just a light source; they are a system.” That idea matters here. A Neon LED Strip is not merely decorative tubing. It is a coordinated product involving optics, thermal management, electrical design, and installation quality. The marketing can look perfect. Real-world results are less predictable.
What Is a Neon LED Strip?
A neon LED strip is a flexible lighting product designed to imitate traditional glass neon. It uses small LEDs inside a silicone or polymer diffuser. The diffuser spreads each diode’s sharp point into a continuous line of light. This creates smooth curves around signs, shelves, counters, and architectural edges.
Unlike glass neon, it usually runs at low voltage through a suitable power supply. The LEDs convert electrical energy into light when current passes through semiconductor materials. A flexible circuit board carries the current along the strip. Cut marks show where sections can be separated, although cutting outside these points may damage the circuit. The outer jacket also helps protect the strip from dust, moisture, and accidental contact. Protection levels still vary, so wet-location claims need careful checking.
The U.S. Department of Energy reports that LED lighting can use at least 75% less energy than incandescent lighting and last up to 25 times longer. These figures support LED adoption, but they do not guarantee identical results for every neon strip. Heat, voltage stability, bending radius, and installation quality matter greatly. In practical installations, poor ventilation can shorten service life. I have seen attractive lighting fail early because the power supply was undersized. That detail is easy to miss. A reliable assessment should check brightness, color consistency, thermal management, ingress protection, and replacement access before installation.
Get in touch
Our mission is to develop cutting-edge clean energy technology and provide next-generation solar inverters.
Phone
(888) 598-9901
nep-usa@site_ea168614-f5f4-4298-bd5b-880b4cf8d99d
